

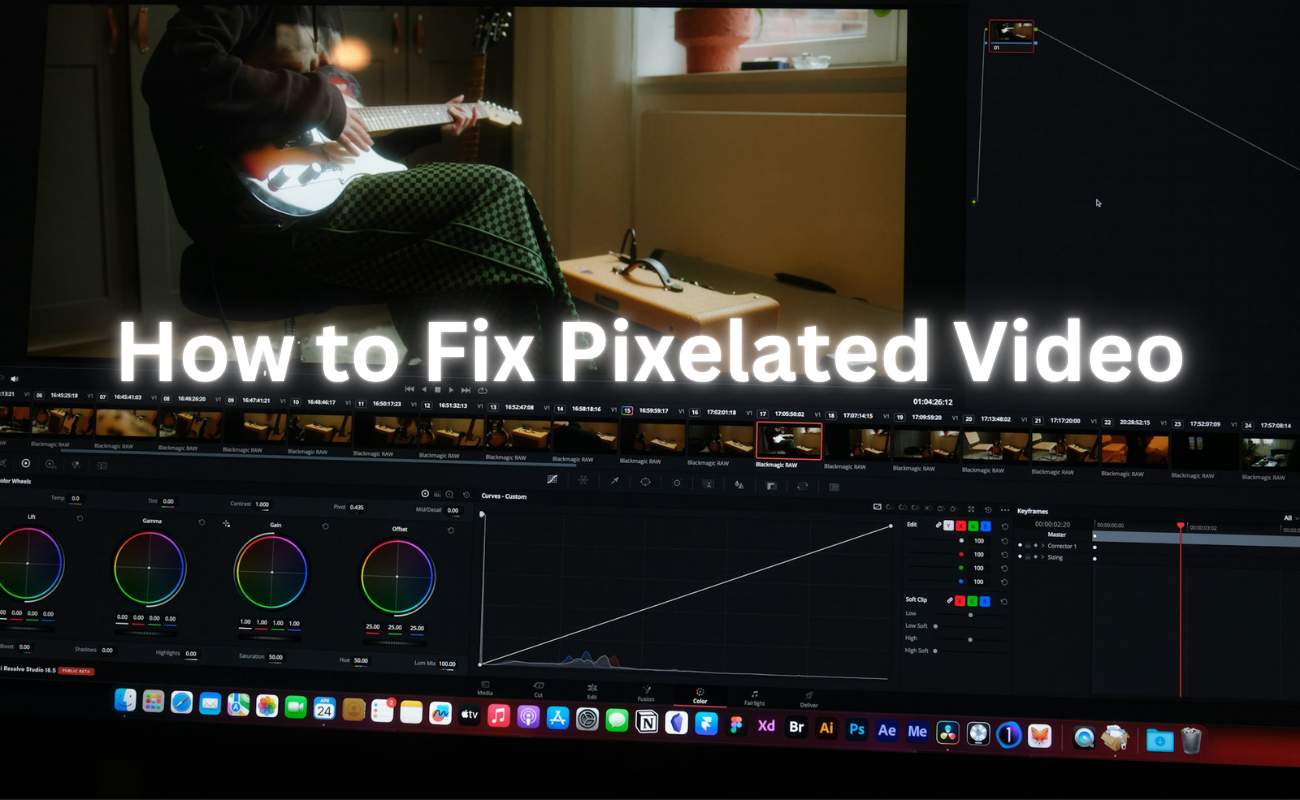
We have all had to go through it. You want to watch a video, you press play and instead of seeing a nice video, you see a screen covered in small, ugly squares. When the time you need to see clearly turns into a blurry mess, that’s frustrating, particularly when it’s your moment. Now, the positive side of the story is that it’s something that almost everyone experiences at some point in their life, and in most of the cases, it can be corrected once you realize what is actually happening behind the scenes. No technical know-how or hours spent looking for answers are required. Then let’s take the easy way to go through this; no jargon, no steps. Simple, straightforward communication that is useful.
Why Does Video Get Pixelated in the First Place?
There’s usually one of these reasons behind it:
- The video was recorded at a really low resolution to begin with, like 240p or 360p.
- It got squeezed too much during compression and a lot of the detail just got thrown away.
- The lighting was bad when it was filmed, or the camera itself isn’t great in low light.
- Your camera shook a bit while filming, causing blur that turns into blocky patches.
- The file got a little corrupted somewhere along the way — during a transfer, an upload, or while saving it.
- Or, and this one’s easy to miss, the video is totally fine, and it’s actually your player or device acting up.
Once you know which of these fits your situation, fixing it gets a lot less confusing.
Step 1: Figure Out if It’s the Video or the Player
Before trying anything fancy, just open the video on a different player. VLC is free and works well for testing this. If the video suddenly looks fine there, the problem was never the file — it was whatever you were using to watch it.
Also, try pausing on a dark or detailed part of the frame and looking closely. Blocky patches only in certain spots usually point to compression. If it’s messy the whole way through, it might be something else going on.
Step 2: If It’s a Playback Problem
Sometimes the video itself is totally healthy, but your setup is messing things up. A few things that usually help here:
- Update your video player to the newest version. Older versions sometimes don’t handle newer formats properly.
- Turn off hardware acceleration in your player’s settings. This makes your computer’s processor do the work instead of your graphics card, and it fixes pixelation more often than people expect.
- Reinstall your graphics driver from scratch. Don’t just update it — remove it completely first, then grab the newest version straight from the manufacturer’s site.
- If you’re streaming, check your internet. A weak connection often forces platforms to drop the quality without telling you.
- Bump up the resolution manually in the player settings, since a lot of streaming apps default to lower quality automatically.
Step 3: Go Back to the Original File
Here’s the easiest fix, if you’re lucky enough to have it available. If your pixelated video came from compressing an original file too much, just grab that original again and export it with lighter compression or a higher bitrate this time. No software needed, no downloads. Just don’t crush the file as hard the second time around.
Read Also: Sotwe: Some Facts That Can Change Your Mind Before Using It
Step 4: Clean It Up With Editing Software
If you already use editing tools, a couple of built-in features can help smooth things out:
- Adobe After Effects has a “Remove Grain” tool that helps clear out noise and light pixelation.
- Premiere Pro has noise reduction and sharpening options that work decently on mildly damaged clips.
- Just don’t expect miracles here. These tools are good for small fixes, not for rebuilding footage that’s badly damaged.
Step 5: Let AI Tools Do the Heavy Lifting
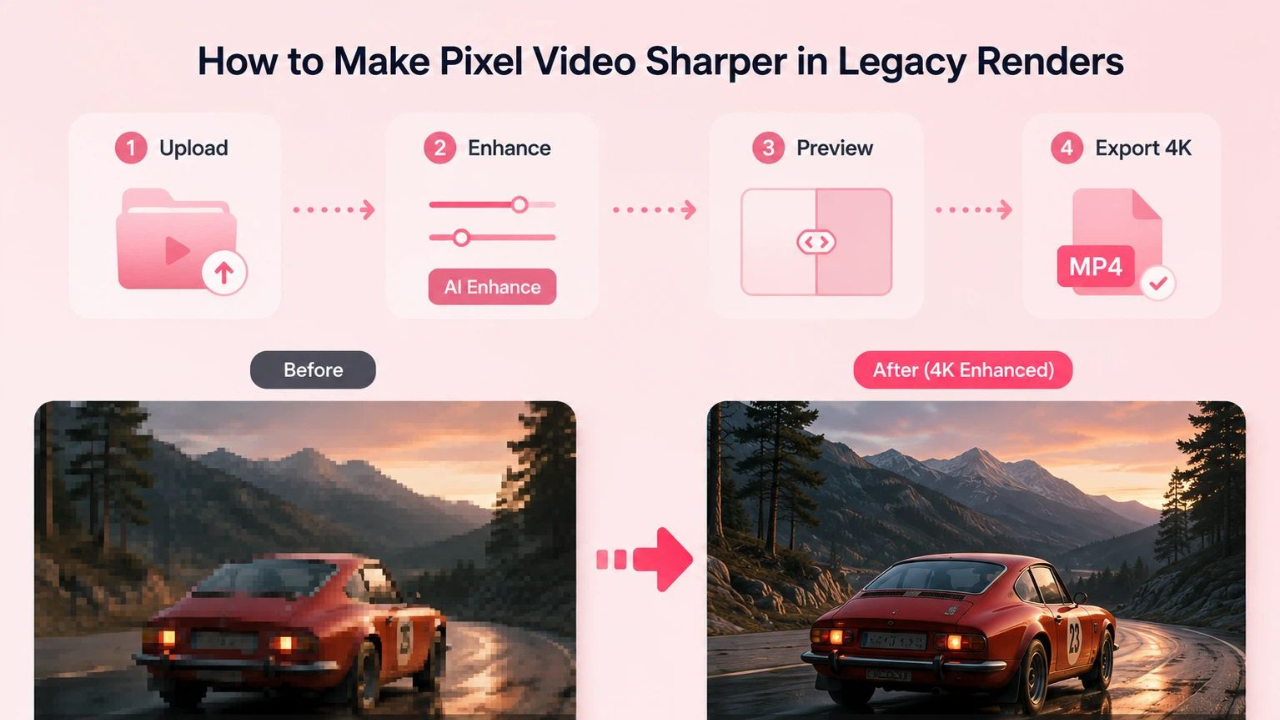
This is honestly where things have gotten a lot better recently. AI video enhancers don’t just smooth things over, they try to rebuild the missing detail using patterns learned from tons of other footage. It sounds complicated, but using them usually isn’t.
Most of these tools let you:
- Upscale the video, sometimes all the way to 4K
- Remove grain and noise automatically
- Sharpen blurry or blocky areas
- Bring old or low-quality footage back to life a bit
You usually just drop the video in, pick a setting, and let it process. No editing experience required.
Step 6: If the File Itself Is Damaged
If your pixelation is actually caused by file corruption rather than low quality, regular editing tools won’t do much. In this case, you’d want dedicated video repair software, which is built specifically to fix broken file headers and glitchy frames rather than just improve picture quality.
How to Avoid This Next Time
A few small habits make a big difference down the line:
- Record in the highest resolution your camera allows.
- Get good lighting whenever you can. Bad lighting forces a higher ISO, and that’s where grain comes from.
- Keep your hands steady, or use a tripod if you can.
- Don’t over-compress your files when saving or exporting.
If you shoot a lot in low light, a camera with a bigger sensor will save you a lot of headaches.
Final Word
Pixelated video feels frustrating in the moment, but it’s rarely a mystery once you actually look into it. Most of the time, it comes down to resolution, compression, or something on the playback side, and each of those has a pretty straightforward fix. Start simple: try a different player, check your file and go back to the original if you can. If none of that works, an AI enhancer or repair tool can usually finish the job. A little patience and the right approach go a long way here.
Read More:What is Pixelspinx.com? An Emerging Digital Platform for Content Creators in 2026
